간단한 페이지 만들기 테스트
MDN에서는 간단한 페이지에 미디어를 삽입하는 예제를 제공한다. 한번 해보자.
먼저 github에서 평가를 위한 파일을 받는다. index.html을 다운받은 후 pattern.png를 같은 폴더에 넣는다. originals 폴더의 이미지도 다운받는다.
index.html에 있는 CSS는 일단 신경쓰지 말자. 기본으로 제공되는 index.html의 body 태그 구조는 다음과 같다.
<body>
  <header>
    <h1>Mozilla</h1>
    <!-- insert <img> element, link to the small
        version of the Firefox logo -->
  </header>

  <main>
    <article>
      <!-- insert iframe from youtube -->

      <h2>Rocking the free web</h2>

      <p>
        Mozilla are a global community of technologists, thinkers, and
        builders, working together to keep the Internet alive and accessible,
        so people worldwide can be informed contributors and creators of the
        Web. We believe this act of human collaboration across an open
        platform is essential to individual growth and our collective future.
      </p>

      <p>
        Click on the images below to find more information about the cool
        stuff Mozilla does.
        <a href="https://www.flickr.com/photos/mathiasappel/21675551065/"
          >Red panda picture</a
        >
        by Mathias Appel.
      </p>
    </article>

    <div class="further-info">
      <!-- insert images with srcsets and sizes -->
      <a href="https://www.mozilla.org/en-US/firefox/new/">
        <img />
      </a>
      <a href="https://www.mozilla.org/">
        <img />
      </a>
      <a href="https://addons.mozilla.org/">
        <img />
      </a>
      <a href="https://developer.mozilla.org/en-US/">
        <img />
      </a>
      <div class="clearfix"></div>
    </div>

    <div class="red-panda">
      <!-- insert picture element -->
    </div>
  </main>
</body>
이제 주석에 써 있는 대로 하나하나 해보자.
헤더에 작은 파이어폭스 로고 이미지를 넣는다.
<header>
  <h1>Mozilla</h1>
  <!-- insert <img> element, link to the small
      version of the Firefox logo -->
  <img
    src="./firefox_logo-only_RGB.png"
    alt="small version of the Firefox logo"
  />
</header>
그 다음 main의 article에 유튜브 영상을 iframe으로 임베드한다. 영상에 들어가서 공유 버튼을 누른 후 퍼가기를 선택하여 나오는 iframe 코드를 복사하면 된다.
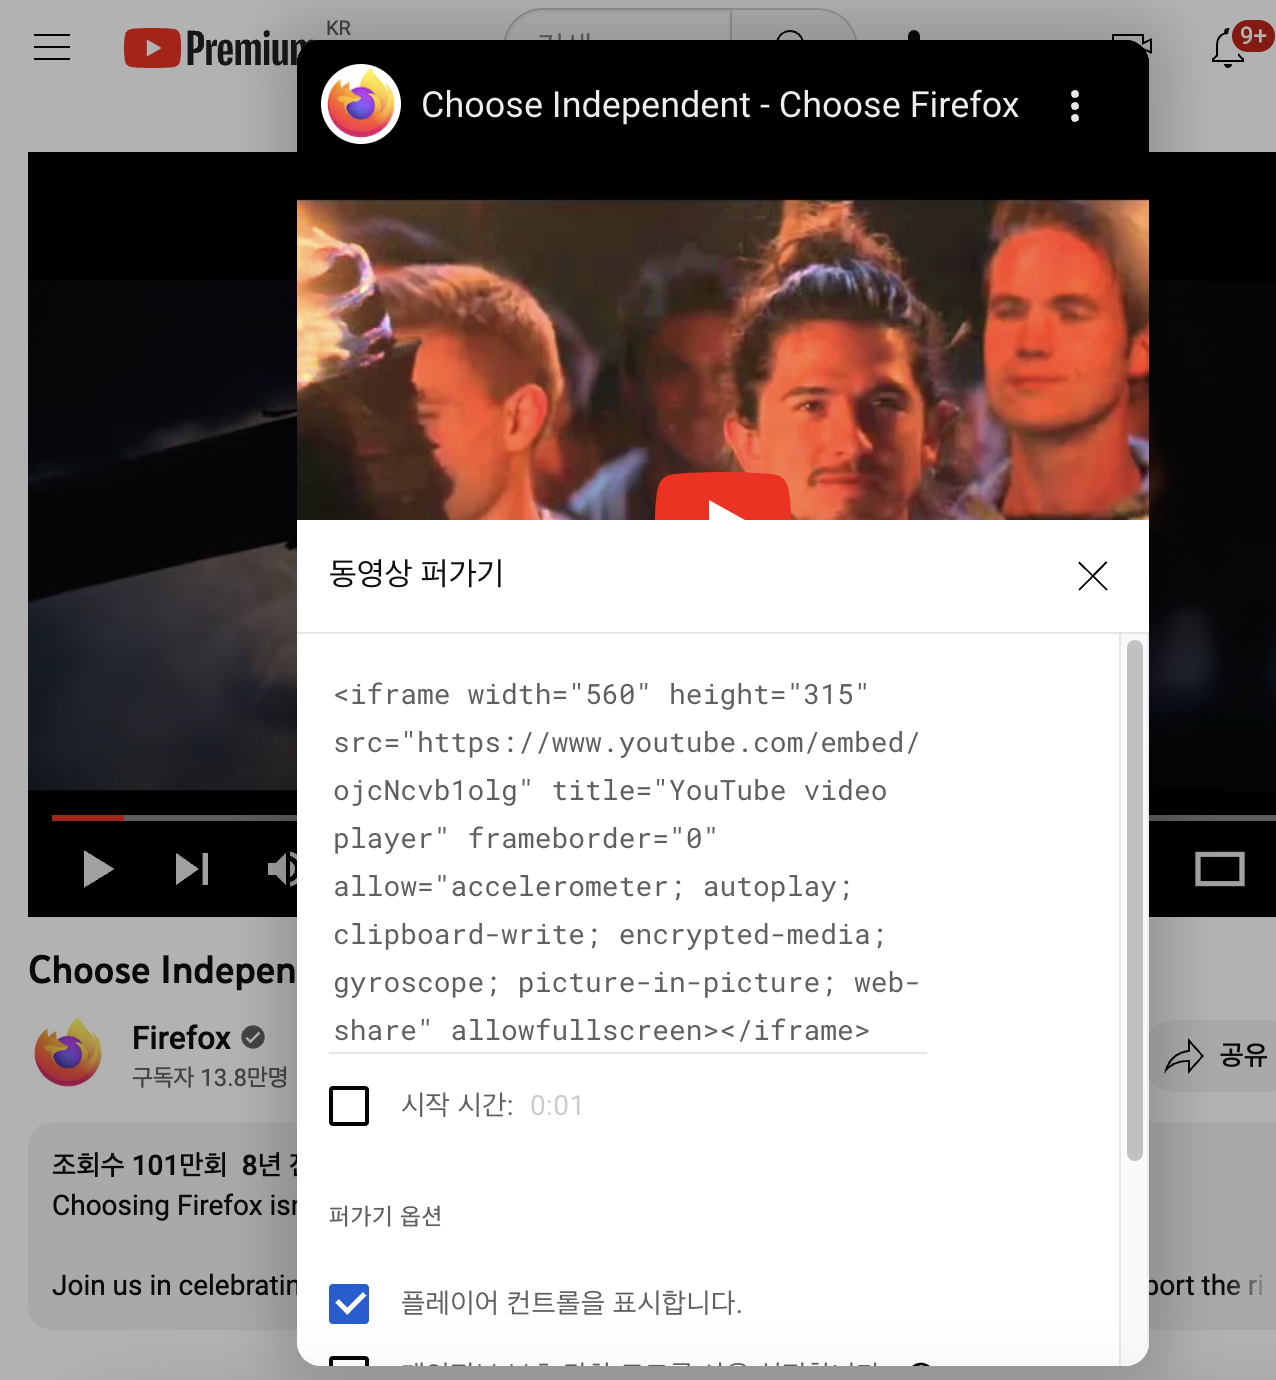
또한 유튜브 영상의 너비가 400px여야 한다고 시키므로 iframe width를 400으로 설정한다.
<!-- insert iframe from youtube -->
<iframe
  width="400"
  height="315"
  src="https://www.youtube.com/embed/ojcNcvb1olg"
  title="YouTube video player"
  frameborder="0"
  allow="accelerometer; autoplay; clipboard-write; encrypted-media; gyroscope; picture-in-picture; web-share"
  allowfullscreen
></iframe>
그 다음 링크에 들어갈 이미지를 추가한다. img 태그는 이미 선언되어 있고 여기에 src, alt, srcset, sizes 속성을 설정해 줘야 한다.
화면이 500px 이하일 때는 120px 너비의 이미지를 사용하고, 그 이상일 땐 400px 너비의 이미지를 사용하도록 한다. 다음과 같이 링크 이미지들을 세팅해 주면 된다. 이때 이미지의 실제 크기와 srcset에 표기된 크기를 맞춰 주어서 브라우저가 사진의 크기를 제대로 인식할 수 있도록 한다.
<img
  srcset="./firefox_logo-only_RGB.png 1200w"
  sizes="(max-width:500px) 120px, 400px"
  src="./firefox_logo-only_RGB.png"
/>
이제 picture 태그를 사용해 레드 팬더 이미지를 넣어보자. 뷰포트가 600px 이하이면 작은 팬더 이미지를, 그 이상이면 큰 팬더 이미지를 사용하도록 한다. red-panda-small.jpg는 적절히 기존 이미지를 잘라서 만든다.
<div class="red-panda">
  <!-- insert picture element -->
  <picture>
    <source media="(max-width:600px)" srcset="./red-panda-small.jpg" />
    <img src="./red-panda.jpg" alt="Red panda" />
  </picture>
</div>
이렇게 하면 화면 너비에 따라서 다른 이미지가 나오는 것을 확인할 수 있다. 지금까지 한 대로 하면 MDN의 평가 항목들을 완료할 수 있다.